The calendar/schedule on your web page can be displayed according to your needs. You can make your own settings as follows:
- in Zooza, click on the Settings tab and then on Registration Forms
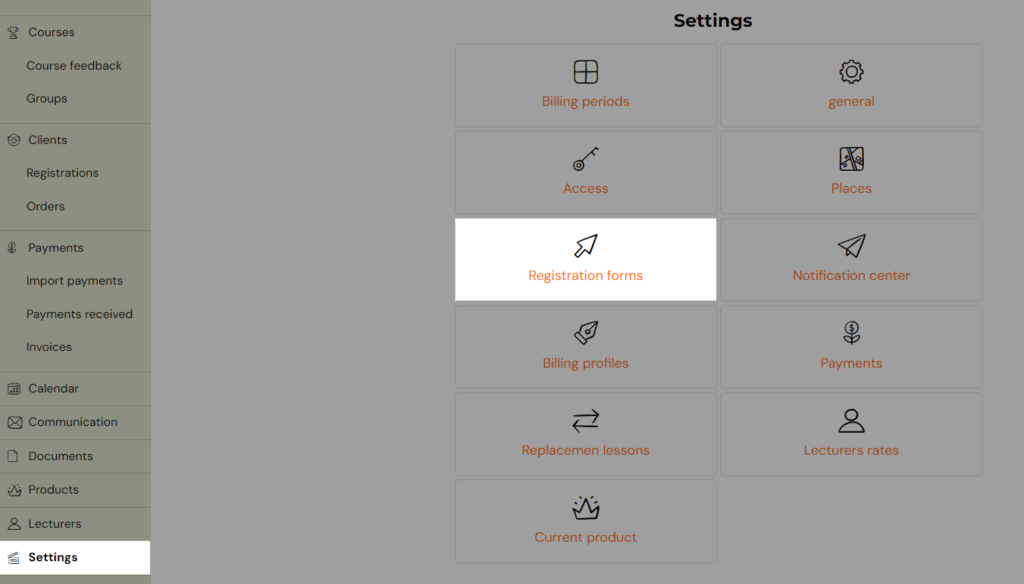
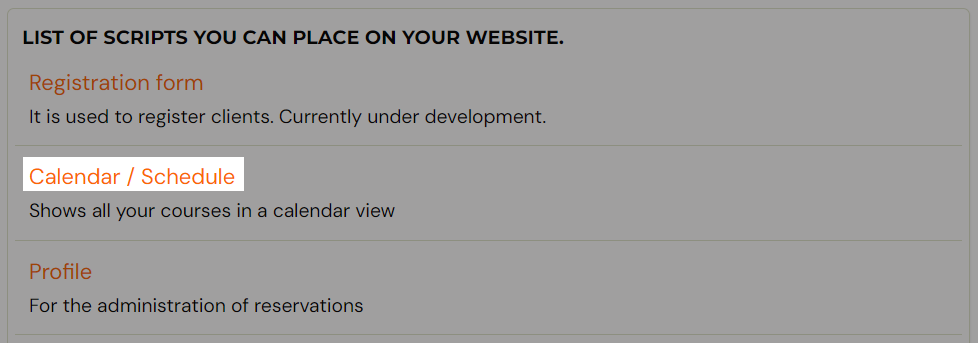
- then click Calendar/Schedule
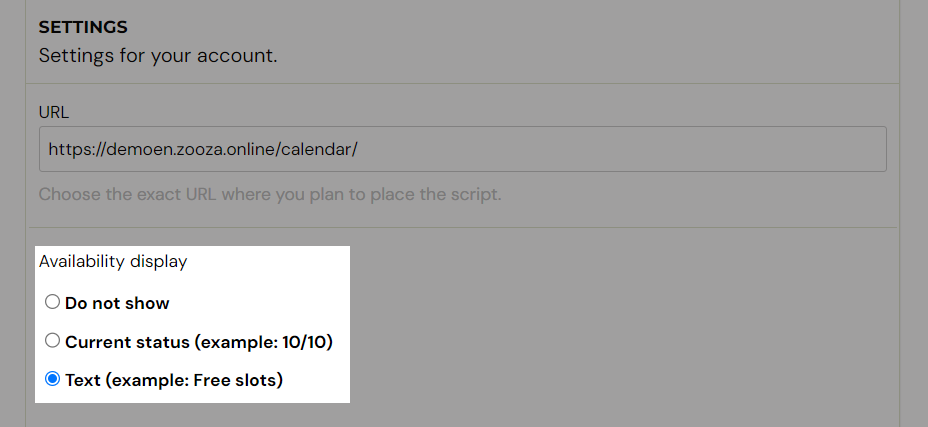
Set to view group availability
In the options, you can set to view group availability and choose if you prefer to display actual numbers or text information
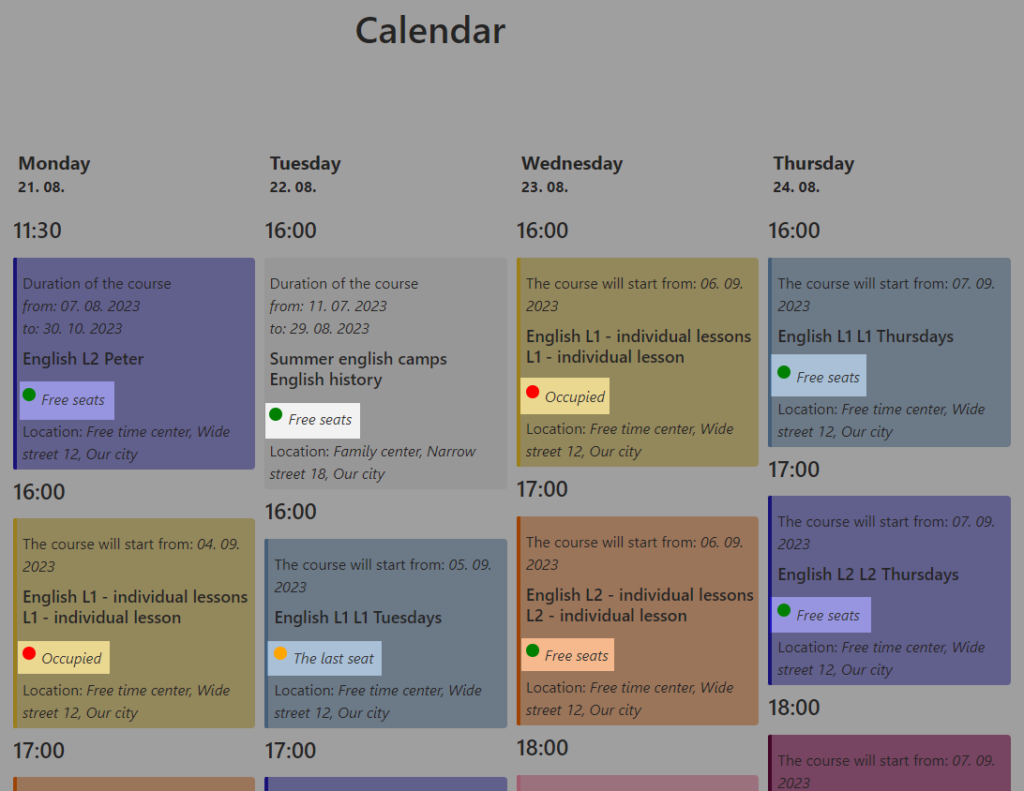
You will have this option displayed on your website along with colored dots for faster orientation for your clients
Redirect your client to registration form or to more infomation about the course
Tick checkbox acording to your preferences – clicking on the group on calender can redirect your client to more information about the course or to registration form directly to this group, so that the client can quickly and easily register for the selected course and group

Do you want to display only the current courses? Or even future ones?
Or do you want the outdated ones to be displayed as well?
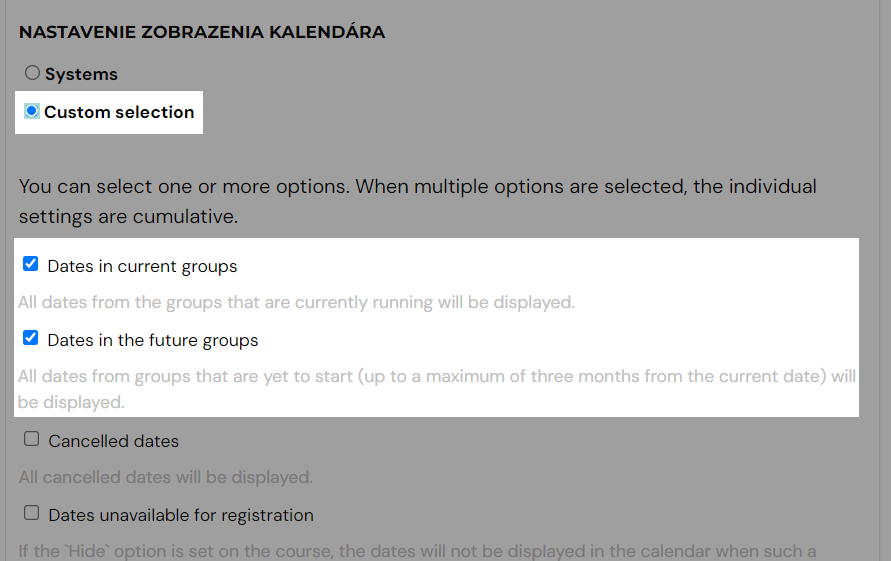
In the Calendar Display Settings section, you have the option to set which dates will be displayed on your website in the Calendar section. If you leave the default system settings, the current and future courses will be displayed on your page.
If you want to customize the view, you have the option to make your own settings. You can select one or more options. When multiple options are selected, the individual settings are cumulative. To select individual options, click on Custom Selection.
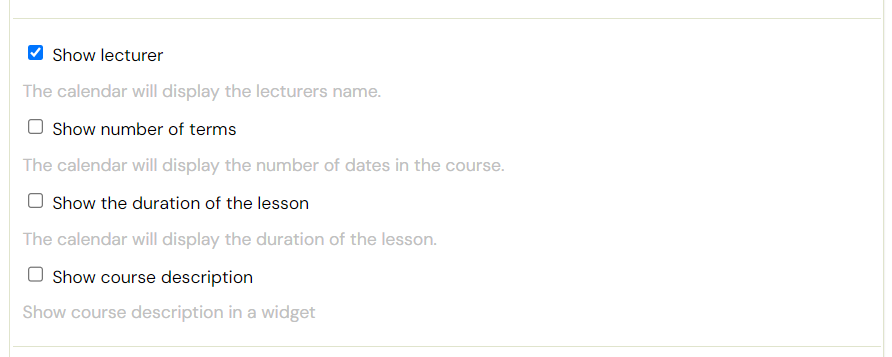
Choose what to display in the calendar
You can decide and tick boxes for those information that you want to display in the calendar
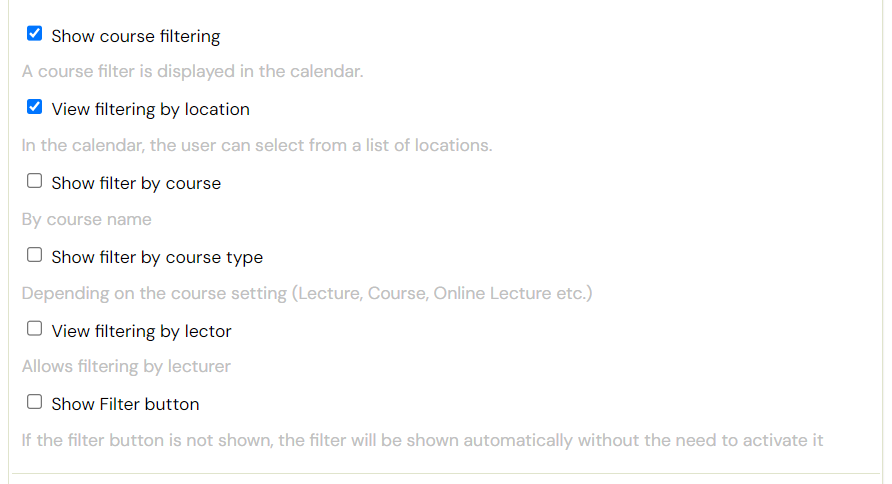
Add filters
Tick Show course filtering and chose what kind of filter is usefull for your company. If you have multiple locations, you can add View filtering by location. Or you can add filter by course, course type. You can even add a filter button so the filters don´t appear automatically
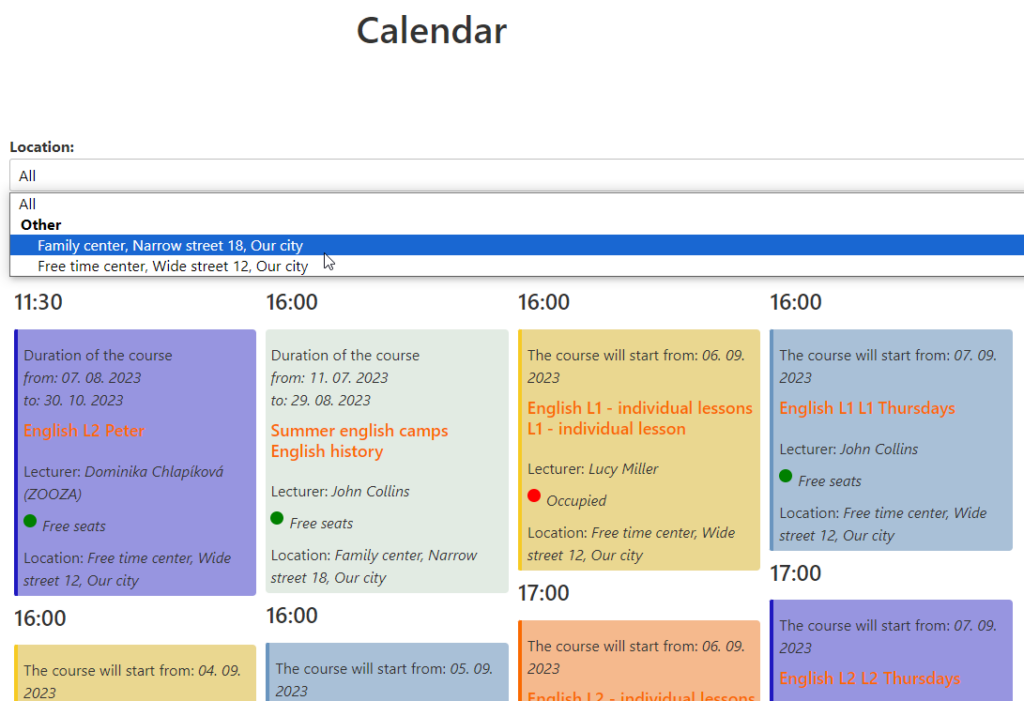
Dont forget to Save your settings
