Labels
Labels are a feature that allows you to mark a course, group or registration specifically for quick searching.
There are 3 different lists of tags you can use – this means that a tag you create at course level cannot be applied to group level, you have to recreate it there as well.
At course level
At the course level, it is set in the Course Settings section , where you enter the special name you want to use for the course specification for easy searching, e.g. You can mark the summer courses you want to find quickly with the word Summer:
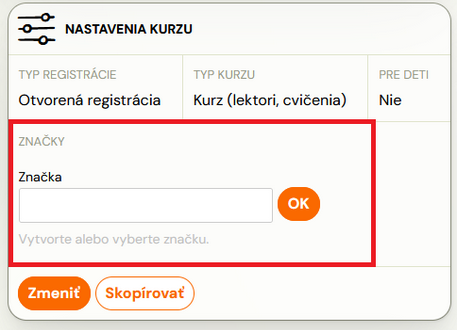
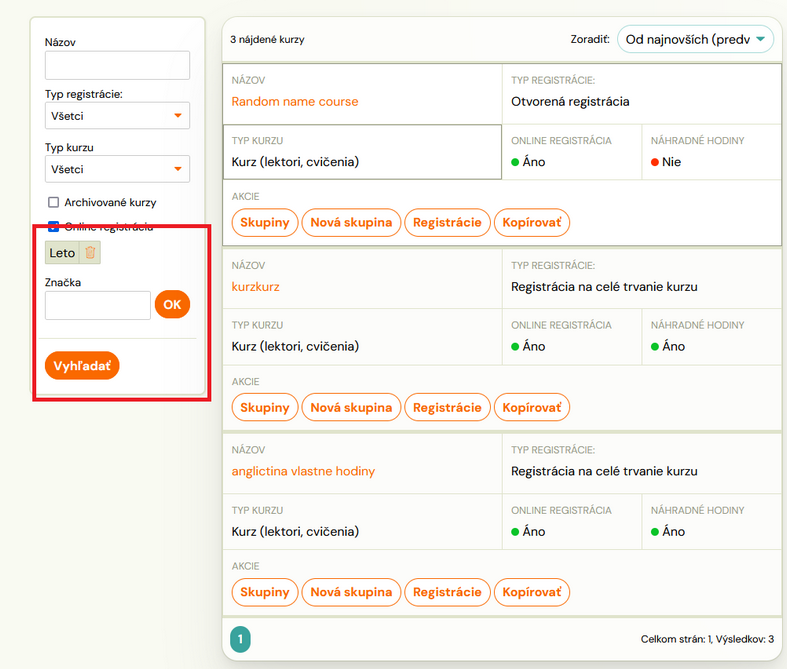
You can use this tag in your course search.
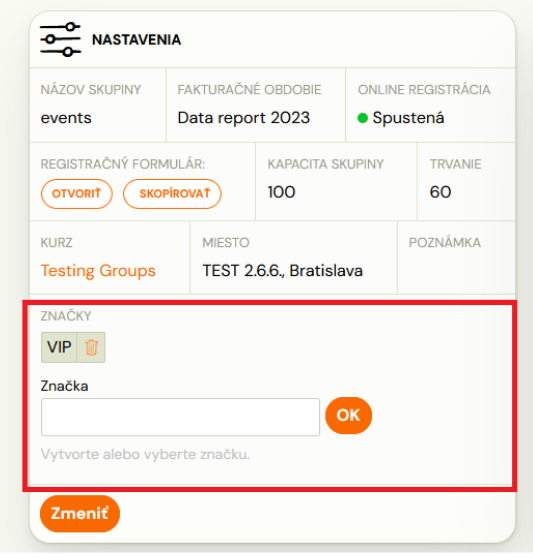
At group level
It is also possible to create a label for a group. This can help you when you need to add a group to a course that you don’t have by default, or you have several different courses with similar groups (e.g. age-restricted,…) and you want to tag them together and filter them later in the group list.
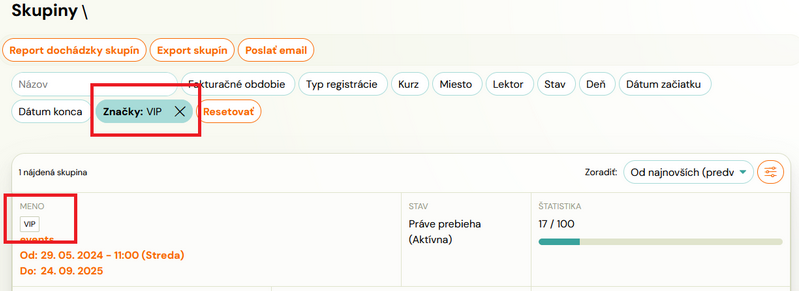
You can search for these groups in the Groups section and send them personalized communications. You can read how to find and work with the whole group effectively here.
Registration level
The last level that can be labeled is registrations. You can mark duplicate registrations, or if you have special clients, whether non-payers or VIPs, and others. You will add a tag to this registration in the registration details:

You can then search for these registrations via the filter in the Registrations section and send a personalized message either via email or SMS, or export them. For more information on searching for registrations, click on this manual.
Tip: If you want to pre-mark your registrations with a tag, you can customize the registration form by using the extra Date of Birth field. This will automatically assign this tag to each new registration, saving you from manual assignment. You can find out how to do this in the Extra fields section below .
Extra fields
Extra fields are used to collect additional information for you (e.g. allergy information, child’s age, level,…). They are added to the customer registration form.
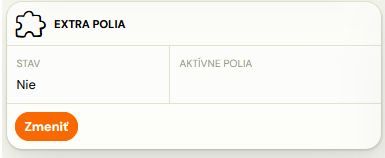
You can set them in the course in the Extra fields section as follows:
- Click the Change button :


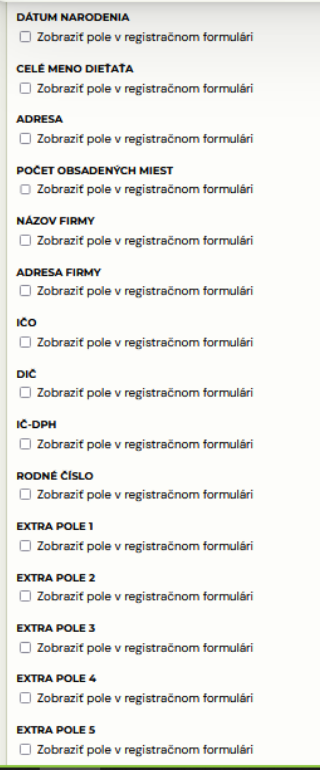
- When you open the settings, you will be shown which fields you can check and thus insert into the form. You can rename each field to suit yourself.


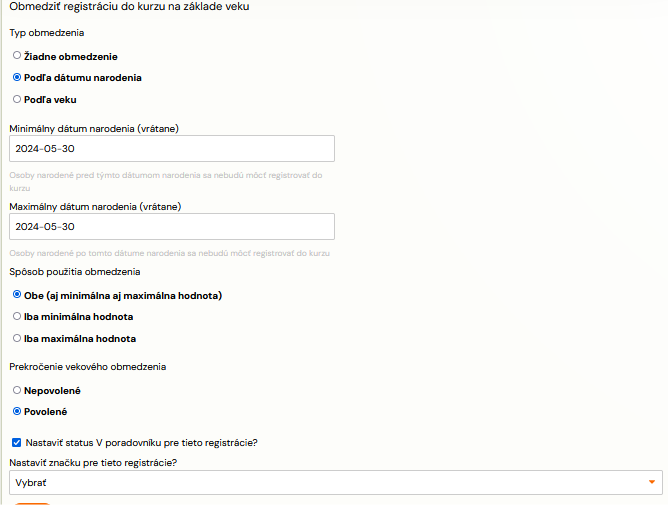
- The Date of Birth field can be restricted by age or date of birth.
- Depending on the course type, you can set the minimum and maximum age of the child (date of birth) – e.g. Course for children aged 12-18 months.
If you allow registrations that do not fall within the age range you specify to exceed the child’s age range, you can check the box to automatically set the child’s status to In Waiting List. This way, those who fall within the limit can still apply for the course and if the course is not full, you can fill it from the waiting list. If you do not check this box, you will allow those registrations that exceed the age limit to register for the course with the status Registered – Valid course registration (the status granted to registrations depends on the group stage)

- If you need to, you can set a tag for these registrations that will be automatically assigned to them.
The advantage of tagging is that you can access them quickly via search and interact with them in a personalised way.

- Depending on the course type, you can set the minimum and maximum age of the child (date of birth) – e.g. Course for children aged 12-18 months.
- In the extra fields 1-5 you can set the field type according to whether you want the clients to write text or give them a list of choices (a selection of predefined options).
To create a picker, you need to fill in the Key and Value.

Keyis an abbreviation for a value that appears only in the registration export and is intended for further work with the data.
Valueis a displayed text that is visible to the client in the registration form and in your administration. A good example would be expertise tracking, where you actually want to store different values than you want to display: For example, for a language course language levelKey Value A1 Beginner B1 Advanced C1 Expert


Attention! Both fields are required and both can be the same if you have no other shortcuts to use.
Note: Since the setting of the extra fields is done at the course level, you need to set the extra fields on all courses separately.